October 8, 2008

Sword in the stone


Hello,

I thought it fitting to post this, as it does have something to do with both the Middle Ages and crafts. I made this project in Jewelry/Metals class at Kent State University (quite a fun and useful class, despite my low grade).


October 7, 2008

Splinted greaves: part IV


Hei!

They're done. Here are some pictures. I don't have to tell you much, because it's all the same as I have been doing.


October 6, 2008

Dutch shoes: part II


Hail,

These shoes are finally receiving my attention, after more than a month of neglect (school...). Well, I'm nearing completion of one of the pair. I've finished the sole-to-upper seam, and have started the heel stiffener.

Here it is, pre-turned:


And here it is, moist, stuffed with a piece of cloth after turning.


Until next time, then,

October 5, 2008

Lady's belt


Hwæt!

This project was swift and secret, as it was a gift for my sister's birthday. I bought the buckle from Thorthor's Hammer, waited about a week, then started working. I cut out the belt based on the width of the buckle (½"), cut out the buckle area, then sewed on the buckle. I then moistened the belt and tooled a simple pattern into it. I dyed it black, and packed it up.

Here are pictures:


Till tomorrow,

October 1, 2008

Saex sheath


Hello,

This project was made for my friend's birthday (back in early July), but I just finished it. It's leather, dyed with diluted dark brown. Actually, it's the same dye as on my other sheath, just well-diluted.


It's actually more streaky than the picture shows. That picture is actually surprisingly beautiful.

Till next time.

September 30, 2008

Viking tunic: part III


Hello,

Well, it's done, and I have one picture to show:


Well, that's it. More pictures of it (on me) on 10/12.

September 27, 2008

Viking tunic: part II


Hello,

Whaddaya know; I've finally done some work on this blasted thing.

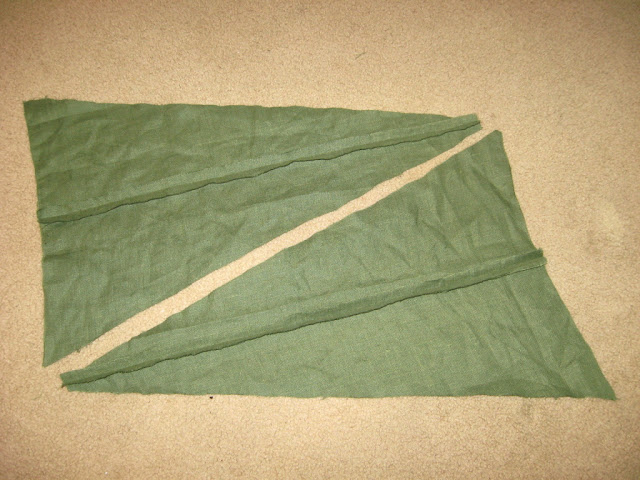
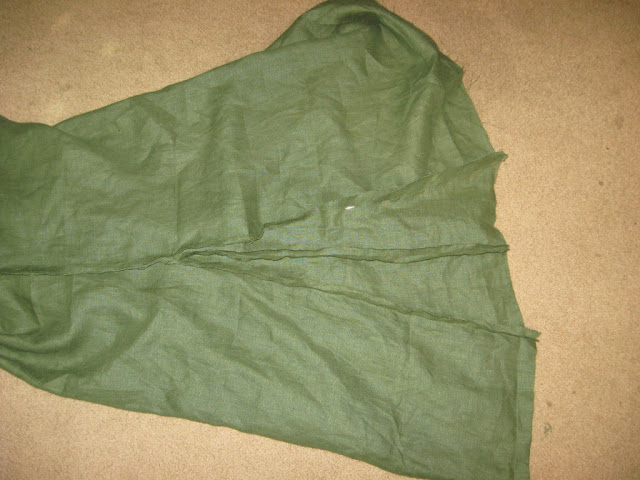
Basically, I've been doing the same thing since last time, that is, hemming down the seams on the inside to prevent fraying. Here's a picture showing the inside of the tunic, with the gore and sleeve on display:


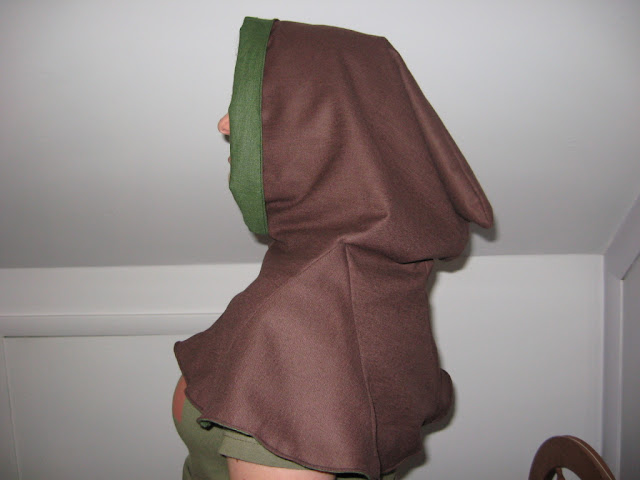
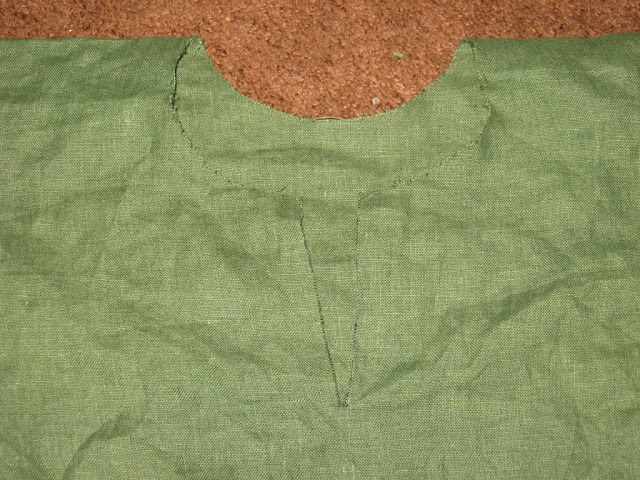
After finishing all the seam sewing, I finally got around to cutting the neck hole, also known as the first time I could try the thing on.


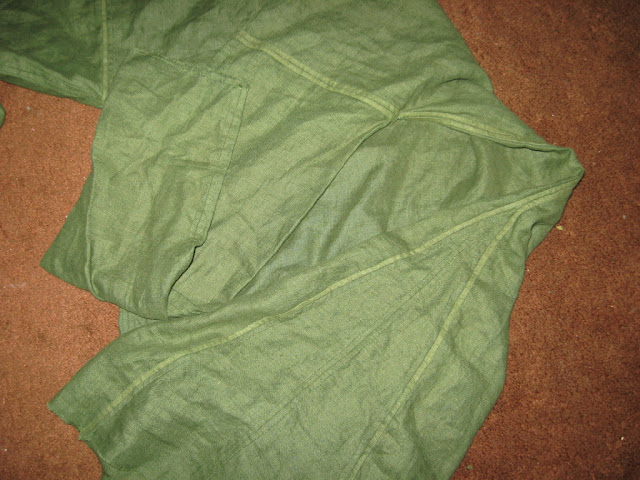
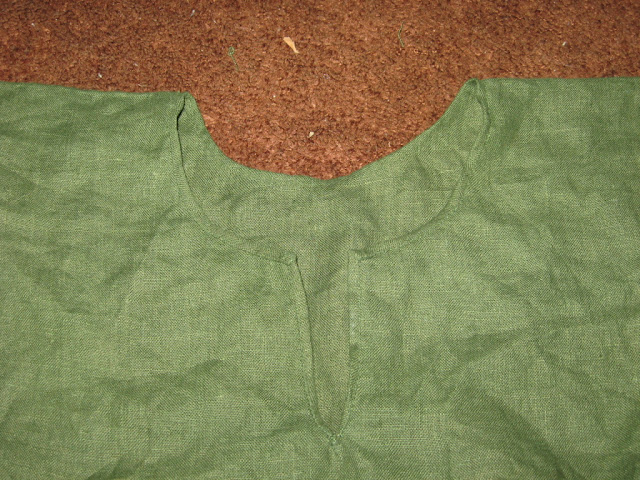
Then I hemmed that too:


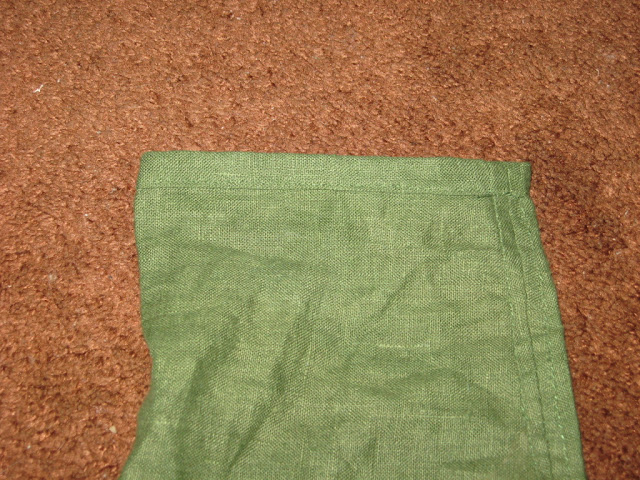
Then I hemmed the cuffs of the sleeves:


All that's left now is to hem the lower edge of the tunic.

So, until I do that, and then take pictures of the final garment,

September 14, 2008

Whetstone


Hello people,

It hit me the other day that there is one thing a Viking warrior oughtn't be without which I had somehow neglected to have. A whetstone, obviously, comes in quite handy to hone the axes, knives and saexes the Viking may have. Since I have a total of three bladed implements on my costume this year, I kind of need a sharpening device.

So I went to the river, which was handily low, and wandered around in the dusky light looking for something suitable. Eventually I found a triangular rock of what seems to be a shale or something. I got home, and drilled a hole in one corner, surely dulling my bit at the same time. I threaded it and playtested it. It hones my knife so sharp that it is quite effortless to cut loose paper.

And you didn't think I wouldn't take pictures, did you? (Mind, I generally only post when I have three or more, unless the object's finished. So you know.)


Just something to whet your appetite...

September 13, 2008

Splinted greaves: part III


Hello,

50th post, and 4155 visits. I'm happy.

Anyway, more work on those splinted greaves of mine. I added the buckles and fitted the holes. That is, I fitted them on one greave, which is why I'm not posting any pictures of the pair on some random legs I happen to own.

Anyway, here are the pics:


This one shows the holes in the straps; exciting, I know:


Until post 51:

September 11, 2008

Viking hood


Good day to you all.

Last Sunday I spent approximately eight hours creating a Viking costume for my dad. Naturally, despite having the camera with me, I neglected to take any pictures until everything was finished. Also, I only took pictures of the hood. Mind, the tunic and trousers are exactly the same pattern as my own (also on this site), so they aren't important.

Anyway, this hood is similar to a liripipe, sans the pipe, of course. It is brown wool lined with green linen (which you may recognize from the trousers and tunic I'm making myself). It is technically reversible, but it's best to have the green on the inside, as the wool is kind of scratchy.

And pics:


I'll get pictures of everything once the renaissance fair rolls around (Oct. 12). Until then,

August 30, 2008

Dutch shoes: part I


Hello everybody!

I'm back! It's been over two weeks since I've last posted, which I can blame mostly on two things:
a) I'm lazy, and I haven't been working on more than one project at a time.
b) School started, and I've been studying for the first time ever.

Now that I'm back in 'the groove', I've started working on my latest project, which is a pair of shoes, based off of this example. It's a commission, and the person purchasing has a Dutch persona, thus the Dutch shoes.

I started with the basic pattern used on my last pair of shoes (here), only sized up to a size 15 (!).

Here are the four pieces cut out:


Here is the first shoe after a good bit of sewing:


And here is a very bright picture trying to demonstrate the detail of the stitching:


I intend to take some pictures of the finished product with a size comparison, so you can get an idea just how big these things are (no offense, Thomas Z.).

I would also like to mention just how loyal my visitors are; over the past couple weeks, I've averaged at least 20 visitors a day. Last time I stopped posting, it only averaged about nine. Thanks, guys.

August 7, 2008

Viking tunic: part I


Good day.

I'm back. And here, with my newly found time, is the first installment of the tunic series. I bought the fabric from www.fabrics-store.com, where their fabric is exceptionally well priced. I chose an olive green.


It arrived in good time, and I then packed it right up to move. No sense in starting only to find no time to do anything later.

Yesterday, I finally got around to measuring and cutting the fabric, a task made more difficult by a lack of chalk and scissors (packed).

Cut out, in seven pieces:


Last night, I sewed the gore pieces together. I could have cut out solid triangles, but cutting rectangles in half conserves fabric, which is a very Viking solution, despite the fact that I have a considerable amount extra.


I then sewed the sleeves to the body:


And then the gores:


Then I sewed up the sleeves:


And I started sewing up the sides, attaching the other side of the gores in the process.


Till next time,

August 4, 2008

Viking belt


Good day!

I'm back in business, at least until school starts Aug. 25. This project was a bit of a short deal. I didn't make the buckle set. I bought it from Raymond's Quiet Press. Excellent work for great prices.

Anyway, I dyed the belt myself, and attached the buckles. Not too impressive, to be sure.


Till next project,

July 24, 2008

Horn Spoon


Hello,

To be totally honest, I did not make this, per se. The spoon was ready-made, and I simply took a drill, a saw, and a number of files to it.


Thanks for looking.