Greetings one and all.
I've found the time to craft again, so expect to see some pictures again soon. Lots has happened in the past three and a half years, but I've found my way back to handiwork.
I've found the time to craft again, so expect to see some pictures again soon. Lots has happened in the past three and a half years, but I've found my way back to handiwork.
I am a graduate student, so I reserve the right to post infrequently. Here's hoping this isn't one of those "I'll post more" then nothing posts. I have some crafts started though.
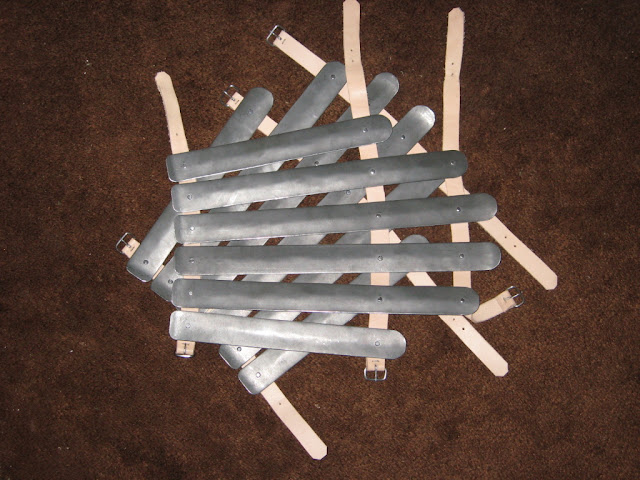
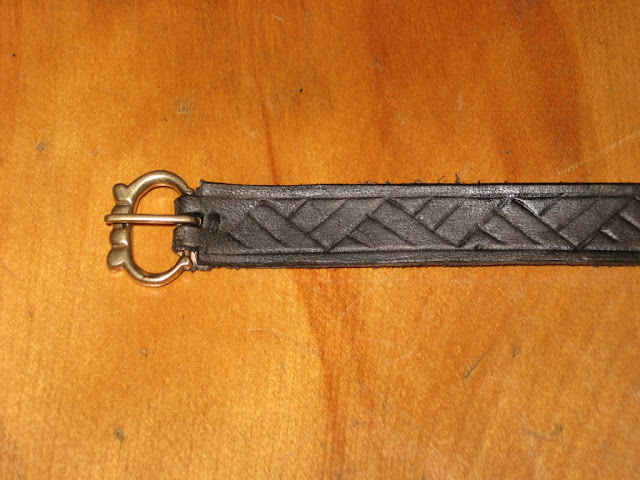
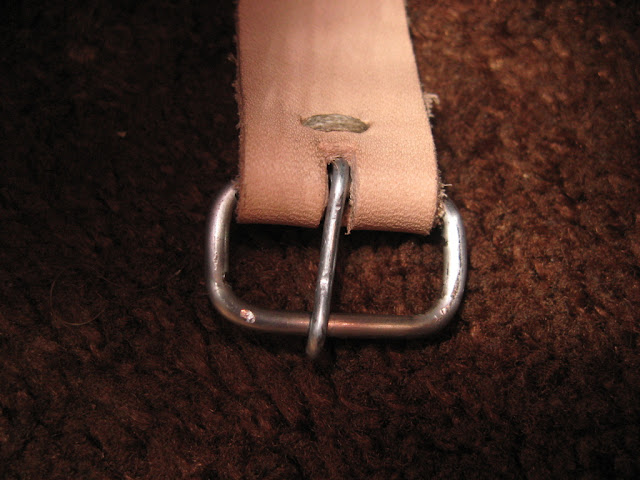
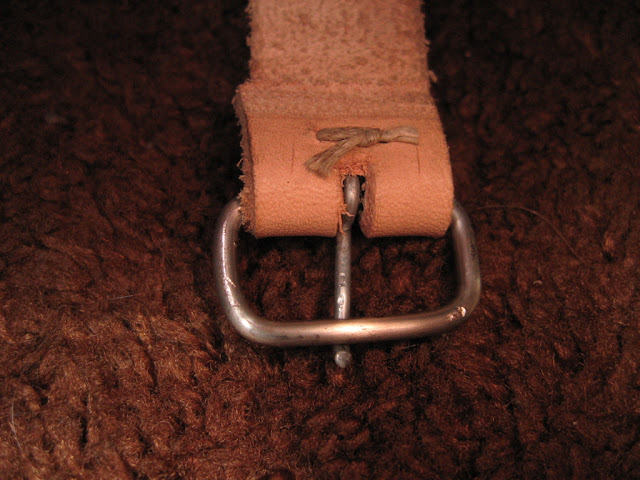
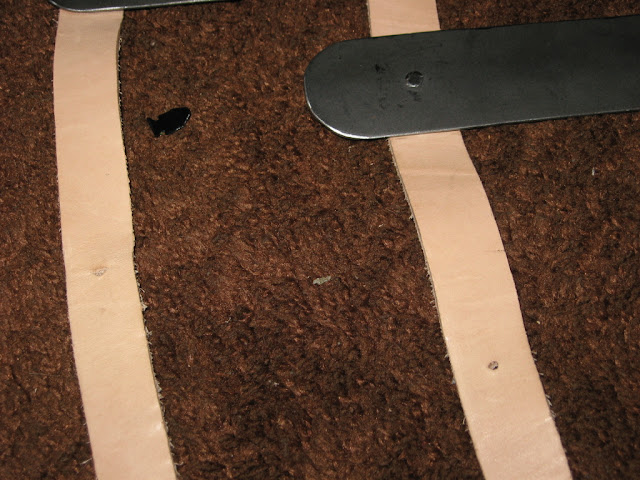
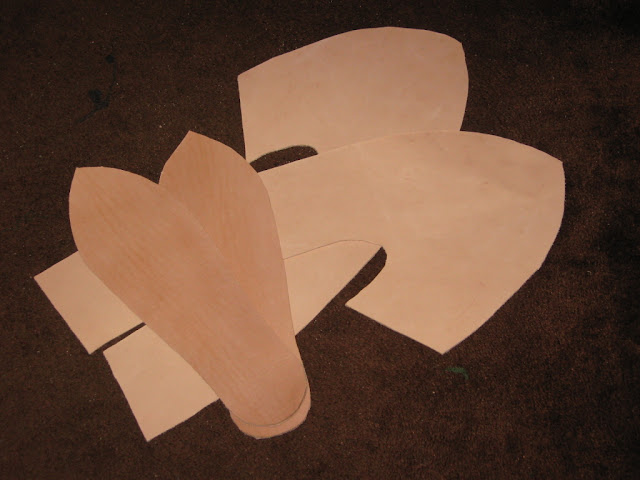
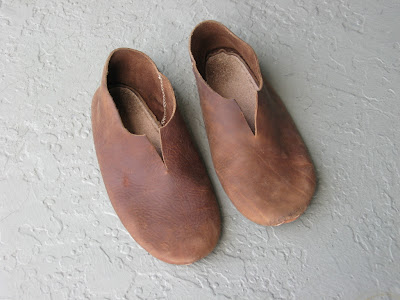
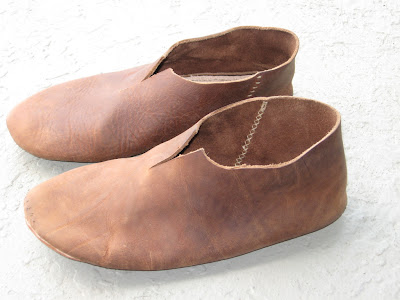
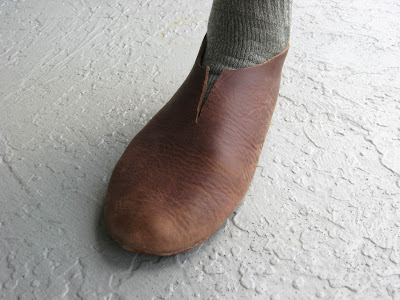
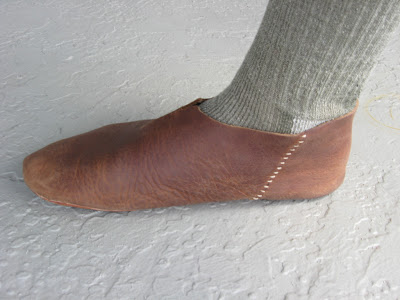
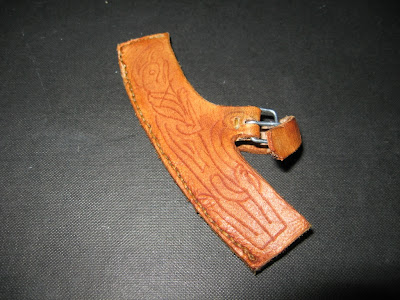
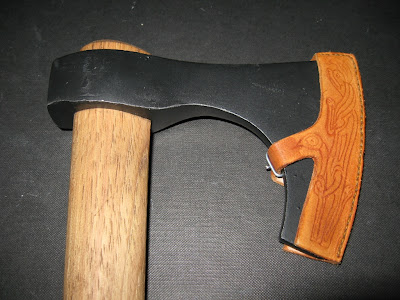
Here's a teaser:

If you know what that is, you'll understand the direction I'm going.