Good day,
This project was a commission, and I wasn't planning on posting any pictures at all, but I do love the look of this one.


Greetings:
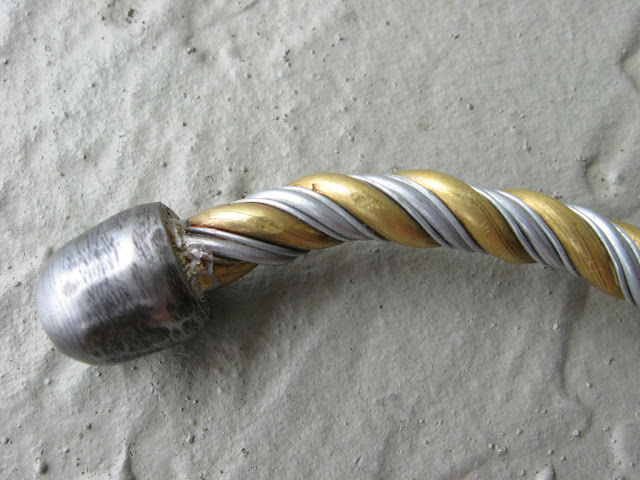
This is the final post about the Romano-Briton helm. It should be on its way to the owner today.
Here's a picture of the inside, with the buckling and such:
And here is an animation showing the helm from all sides: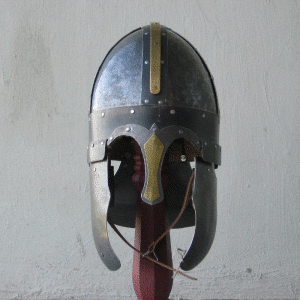
Hello,
This is a project that I did swiftly and with few pictures. The saex is made from a cheap WalMart machete, with an antler handle, and the sheath is obviously leather and brass.
Here's the basic shape, with the beginning of some tooling (to be honest, a rather useless picture):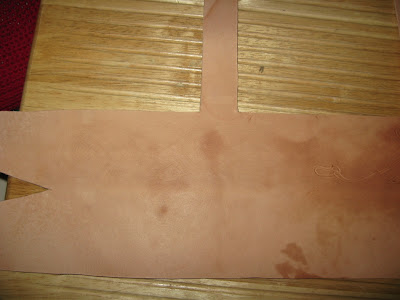
Here is the sheath with tooling complete:
And in the sun, to show off the texture: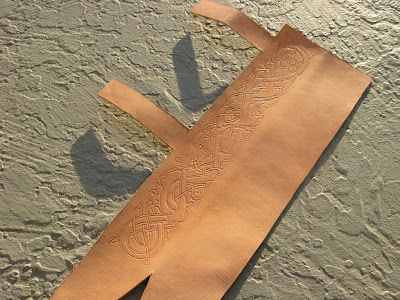
This is the tip of the sheath, showing how it's sewn: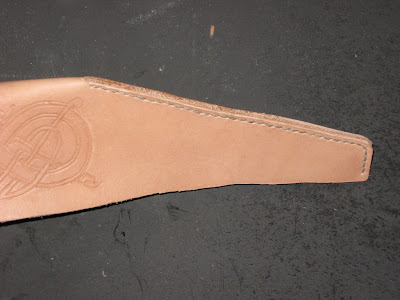
And these are the belt loops: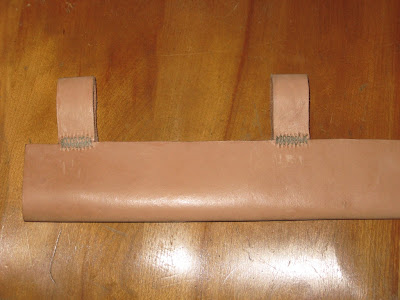
Here's the sheath after I added the brass edge. The brass protects the top edge, as well as removing the possibility of the blade cutting through stitching.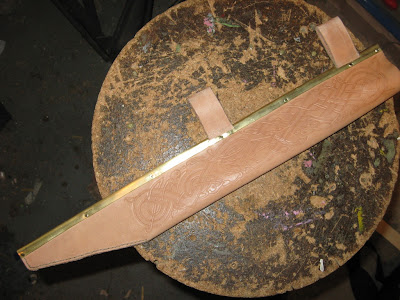
And with saex:
I then dyed it. This is Fiebing's Medium Brown dye; rather dark, in my opinion.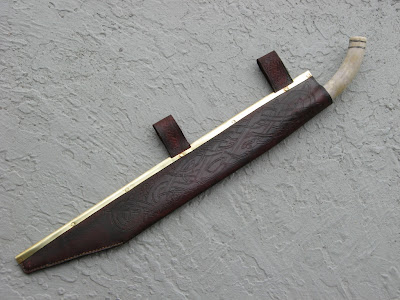
I then highlighted the tooling by watering down some paint, and filling in the crevices: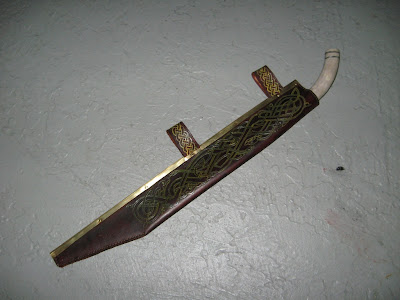
That's it. That's another finished project.
Hail,
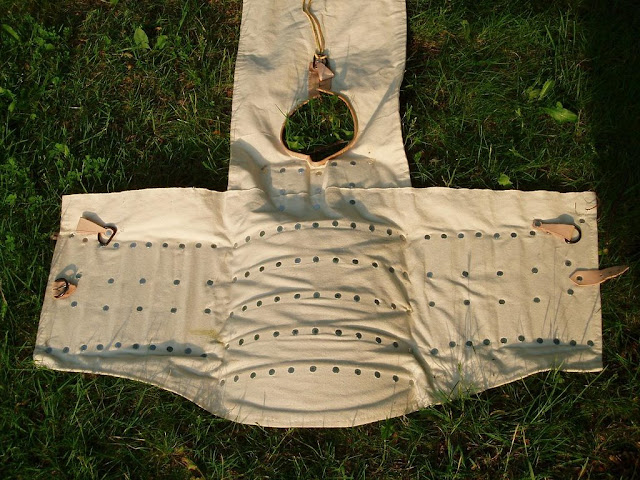
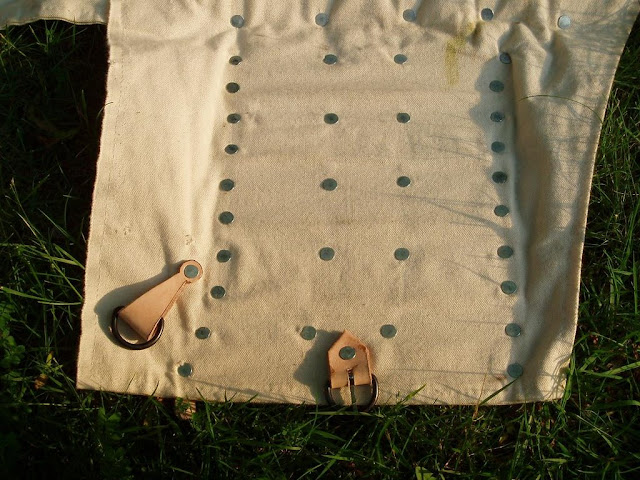
Here are the results of my latest work on my greaves.
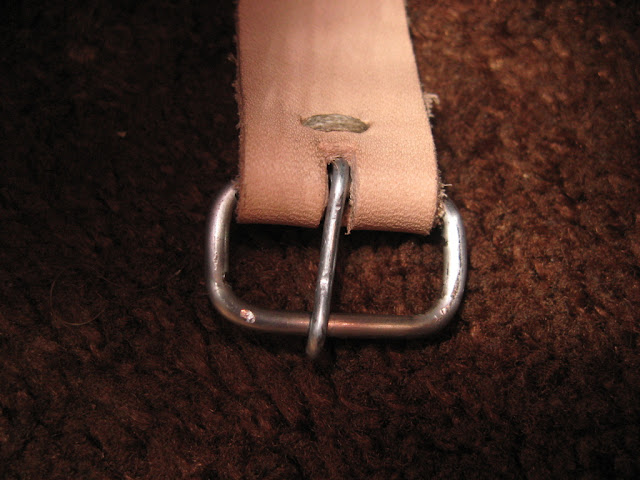
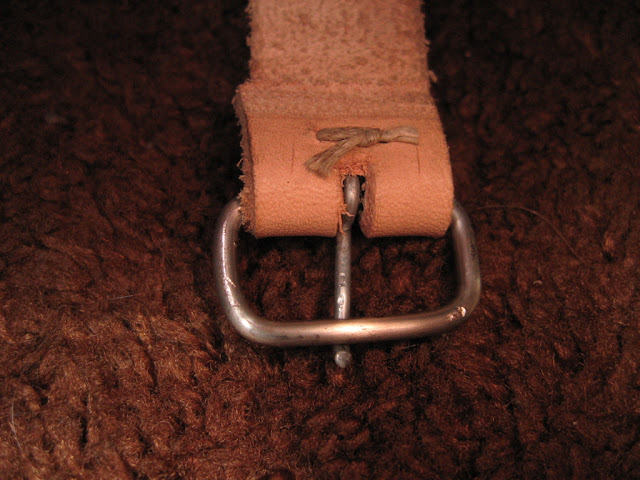
First, another strap: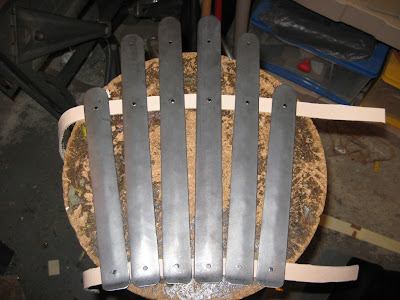
And then another:
That's one greave done. I only have to add buckles and punch holes in the straps. More pictures when I finish the other greave.
Good day,
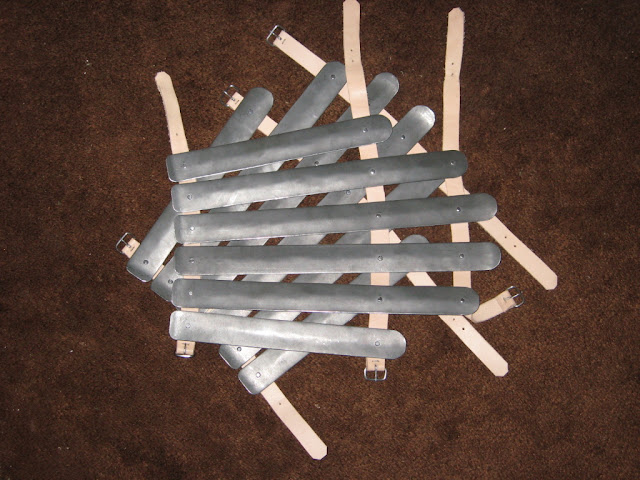
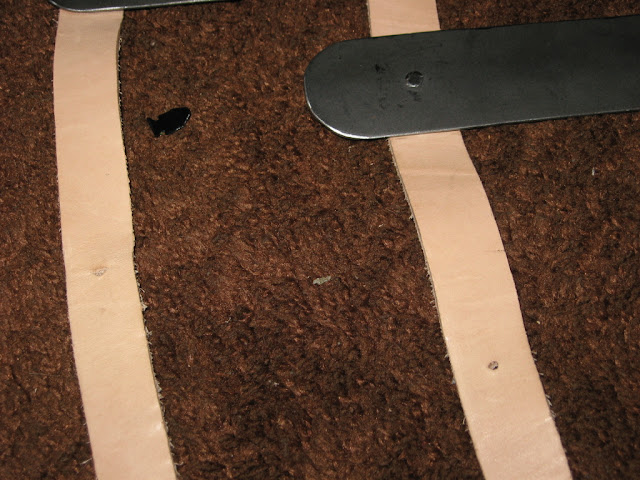
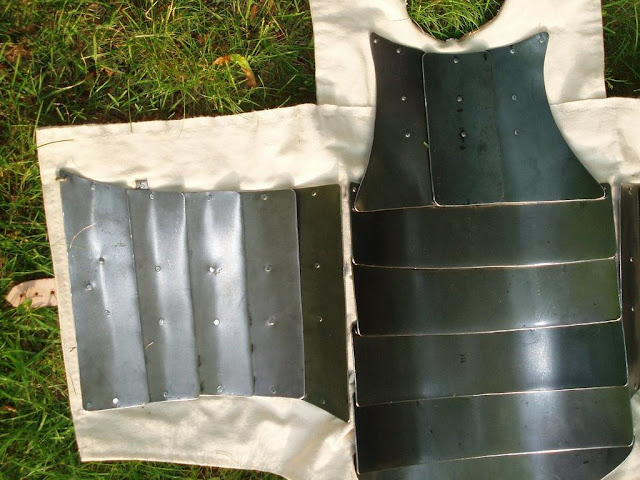
I have begun a new project. This pair of splinted greaves is not necessarily completely accurate, but it does look nice, and it's armour, which makes it awesome. Anyway, here are the pictures:
There are six splints, two each of 10", 13", and 14".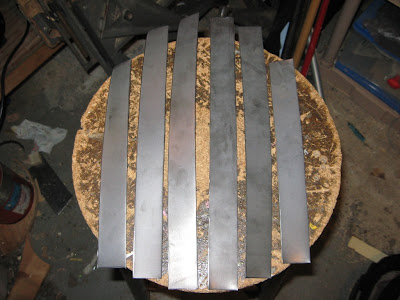
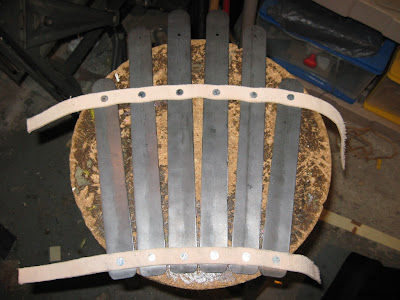
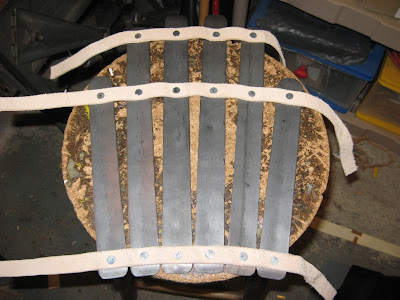
I rounded all the corners, and bent up the bottom edges.
Then I started riveting them to the straps.
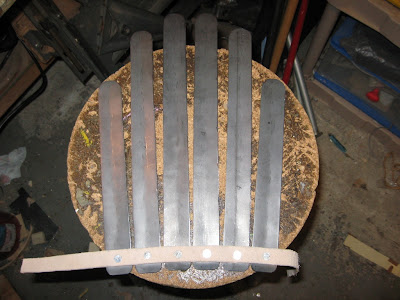
Unfortunately, I ran out of rivets after the first strap, and it being Memorial Day, the store at which I buy more is closed. Ah well; more work on Wednesday, I suppose.
Good day,
The helm is virtually complete. All that is left is to add a string to hold the suspension in place, and one to hold the cheekplates together, and to sew in the cheekstraps. Here are the pictures of the penultimate steps:
These include all the parts I was talking about last time. You can see here the protective plates, as well as how I moved the aventail to the outside to increase room on the inside: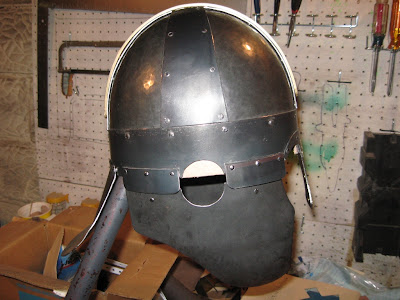

Here is the ring on the back of the helm that will allow the owner to attach a horsehair crest:
That is basically it; I will post final artsy pictures, and then this project will be complete.