Good day,
This project was a commission, and I wasn't planning on posting any pictures at all, but I do love the look of this one.


Greetings:
This is the final post about the Romano-Briton helm. It should be on its way to the owner today.
Here's a picture of the inside, with the buckling and such:
And here is an animation showing the helm from all sides:
Hail,
Here are the results of my latest work on my greaves.
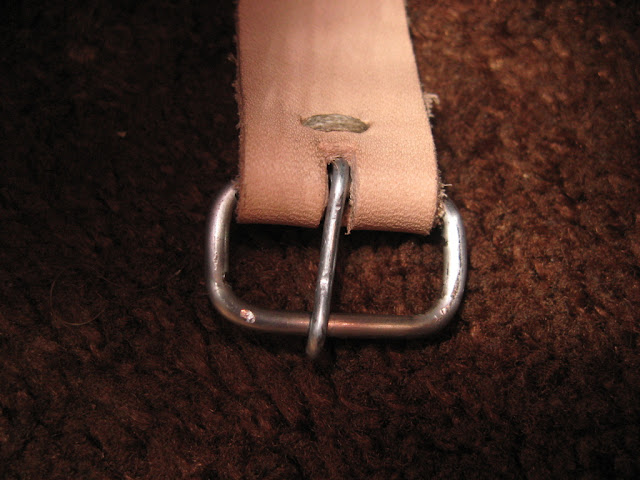
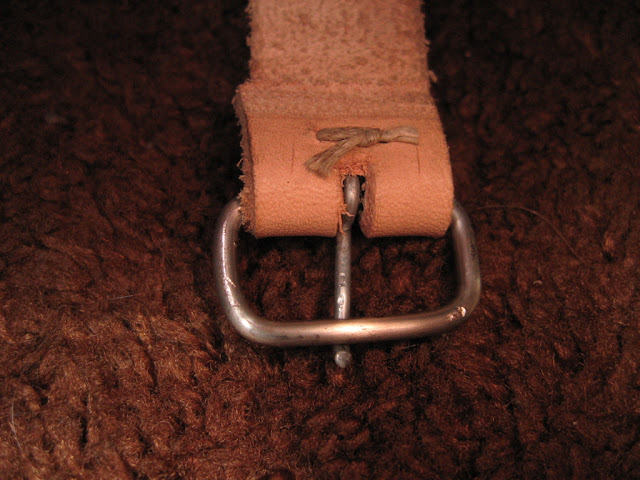
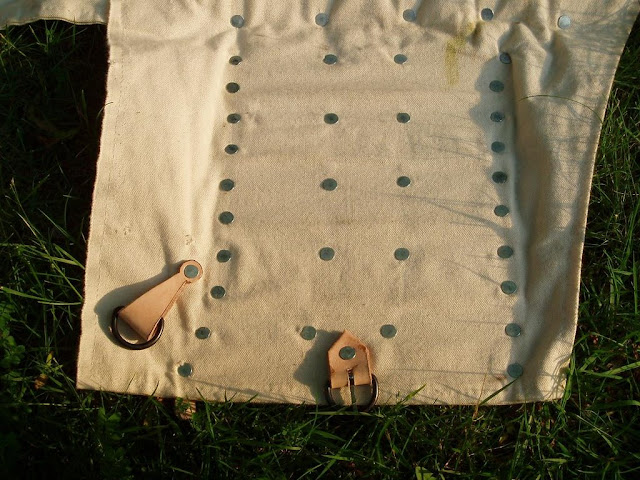
First, another strap: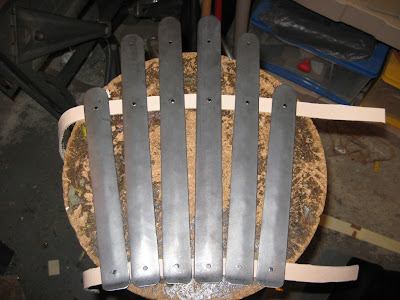
And then another:
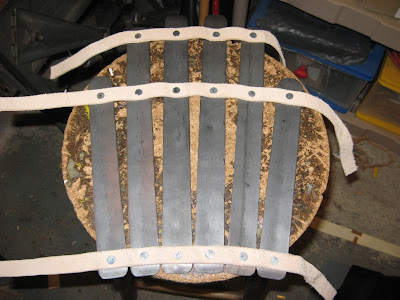
That's one greave done. I only have to add buckles and punch holes in the straps. More pictures when I finish the other greave.
Good day,
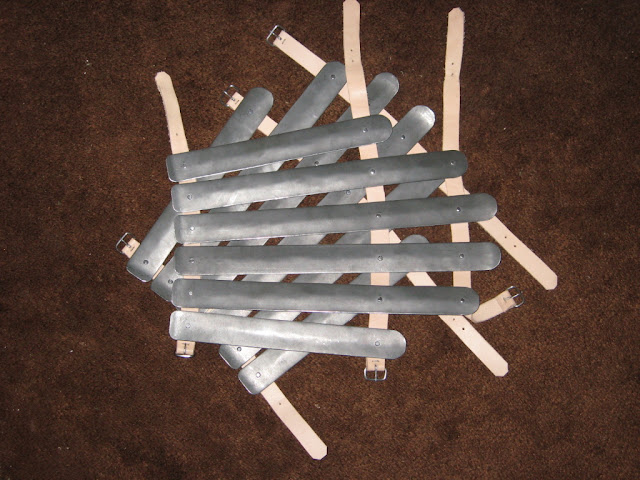
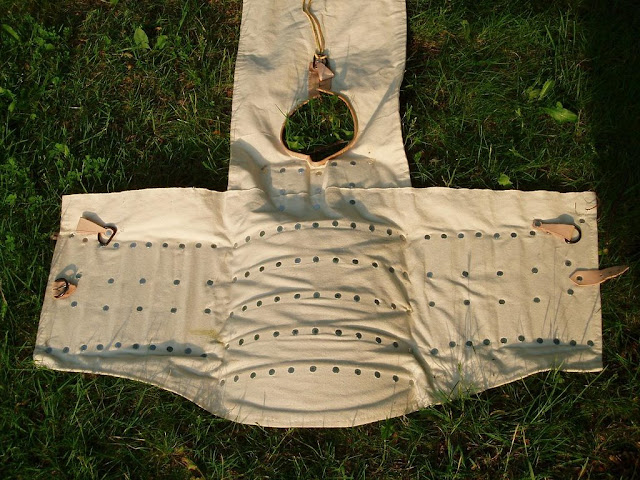
I have begun a new project. This pair of splinted greaves is not necessarily completely accurate, but it does look nice, and it's armour, which makes it awesome. Anyway, here are the pictures:
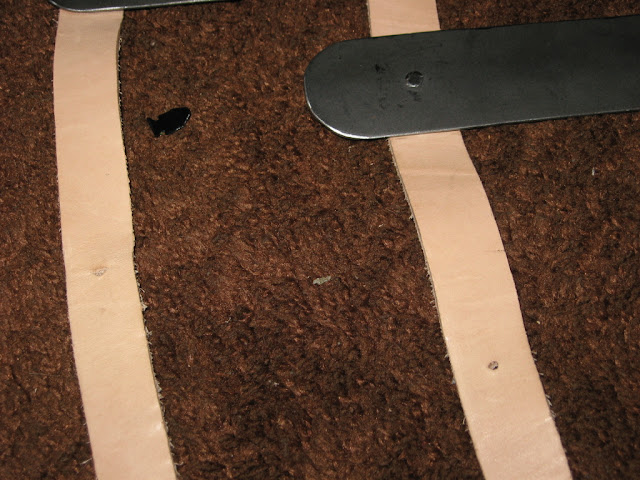
There are six splints, two each of 10", 13", and 14".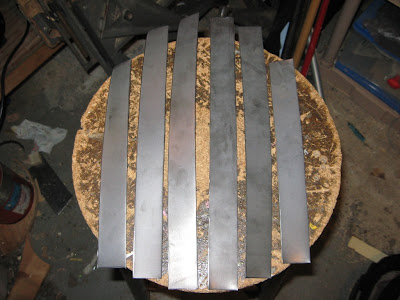
I rounded all the corners, and bent up the bottom edges.
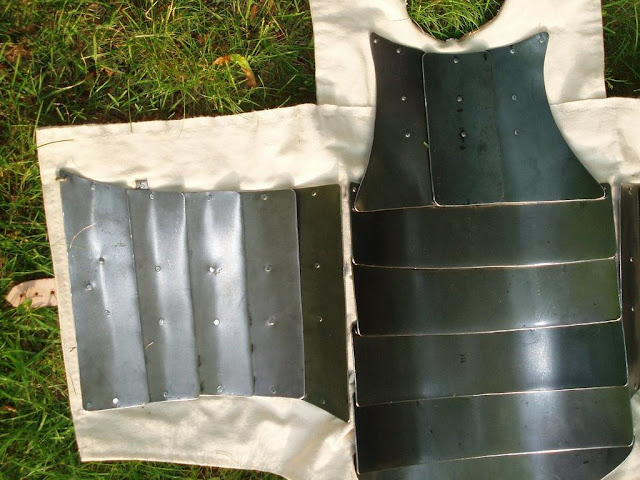
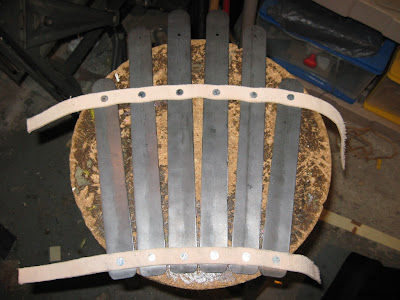
Then I started riveting them to the straps.
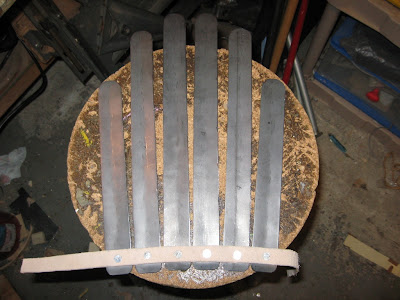
Unfortunately, I ran out of rivets after the first strap, and it being Memorial Day, the store at which I buy more is closed. Ah well; more work on Wednesday, I suppose.
Good day,
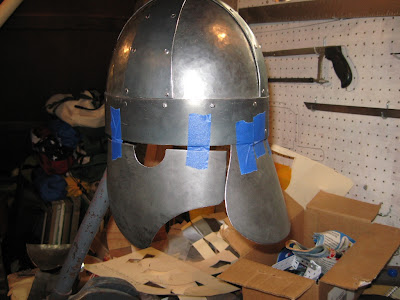
The helm is virtually complete. All that is left is to add a string to hold the suspension in place, and one to hold the cheekplates together, and to sew in the cheekstraps. Here are the pictures of the penultimate steps:
These include all the parts I was talking about last time. You can see here the protective plates, as well as how I moved the aventail to the outside to increase room on the inside: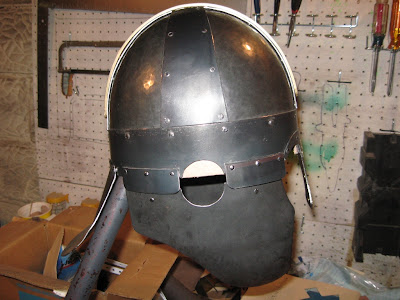

Here is the ring on the back of the helm that will allow the owner to attach a horsehair crest:
That is basically it; I will post final artsy pictures, and then this project will be complete.
Hello,
More work done. I applied a second coat of paint to the skull of the helm. I finished the earholes.
I also added the straps to the cheekplates: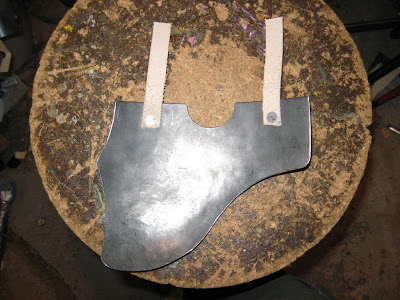
And then I tested them in the helm:
Before I attach the buckles to which those straps will attach, I have to make the buckles, as well as protective plates to prevent 'strap cutting' (ironic for a helm intended for foam-fighting). Then, when those are finished, I will rivet the buckles, plates, and suspension liner all in one go.
Here are those protective plates.
The thin ones are sandwiched between the wide ones and the browband, extending past the edge of the browband to protect the straps. I'll get pictures of that when they're finished, which will probably make more sense.
Till next time,
Good day,
I got a few hours in today on the helm, and it's coming along nicely. The list of things left to do on this helm is getting shorter quite quickly. It appears my estimate of 16 hours was just about right. So far, I've invested 12:30.
Here are the pictures:
First off, here's the shape of the cheekplate:
Which, once formed, looks like this: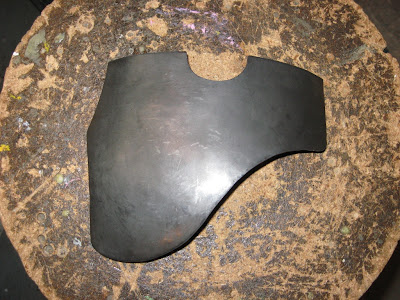
And here it is hanging upon the helm: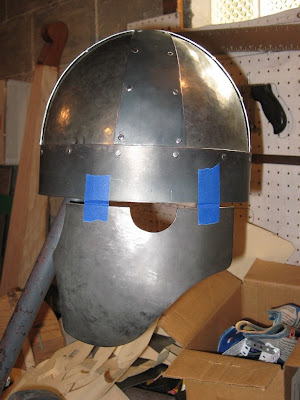
This is the aventail: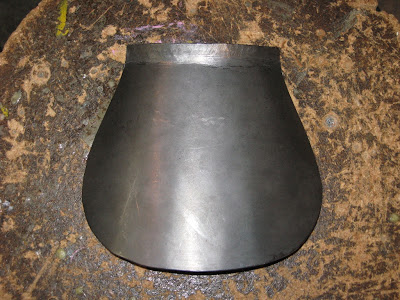
And hanging on the helm: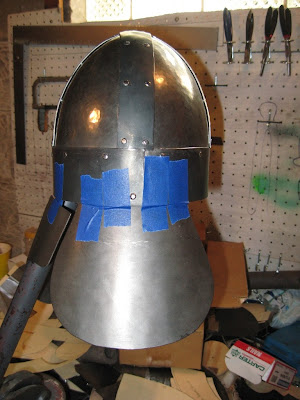
However, mobility was limited by it, so I modified the aventail to allow more freedom of movement. Now it's possible to bend one's head backwards a good amount.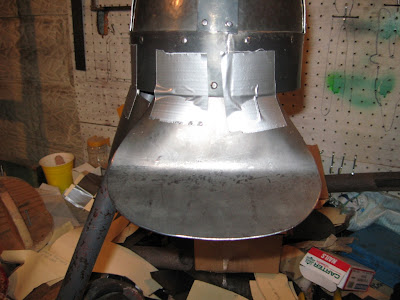
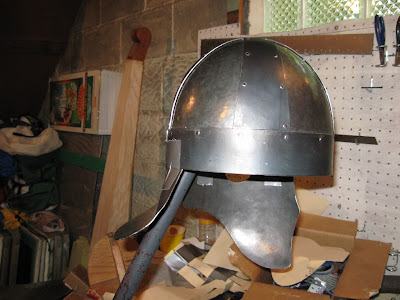
I find it looks quite like a Roman galea now.
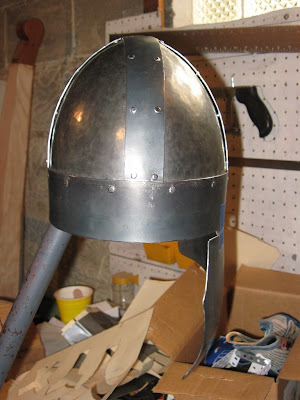
I finally attached the ridge. It looks, in my opinion, quite superb: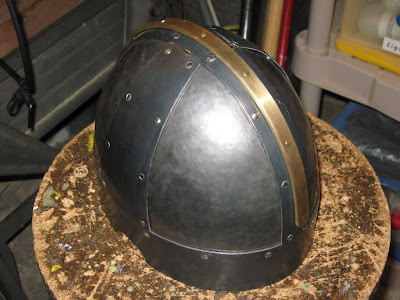
And then, since all the rivets on the skull were finished, I painted the inside to prevent rust (per request):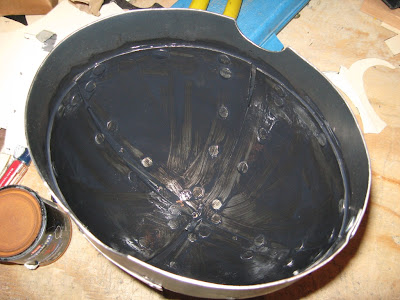
Finally, I cut out and formed the nasal, which looked nice and accurate, before I remember the penny-round corner rule of Dagorhir and Belegarth, so I had to round the bottom end. I will embellish it by adding a piece of brass inset in the middle of it.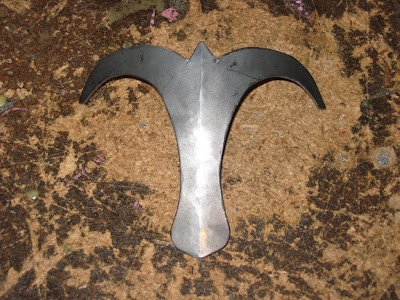
Till next time (tomorrow, hopefully),
I got some more work done on the helm, and although some annoying bits happened (namely, replacing about five rivets after undue forces stressed them to popping), I did get the skull mostly finished.
Here we go. First picture, I finished riveting the plates in: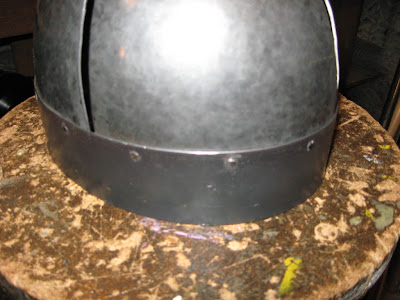
Here's the first spangen:
And half-finished: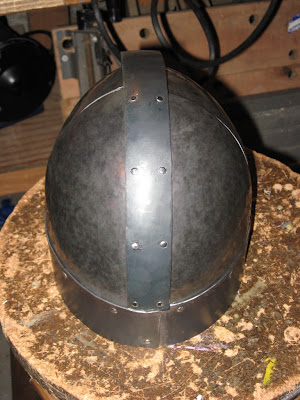
And completely finished:
Per request, I made the side spangens angled; this is the first one done.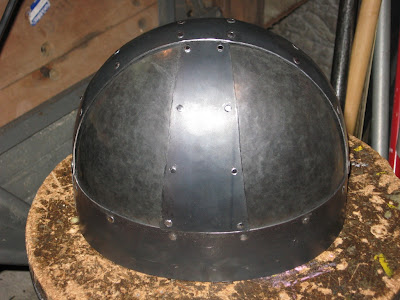
I'm going to finish the other one next time (Monday?) and then I'm going to start on the cheekplates.
Till then,