Hello,
Yeah, I've been working on the ridge helm some more; I am utterly surprised at how quickly it is progressing. It seems the 16 hours I allowed myself may be more than enough.
First off, I dished the other two plates, making a total of four: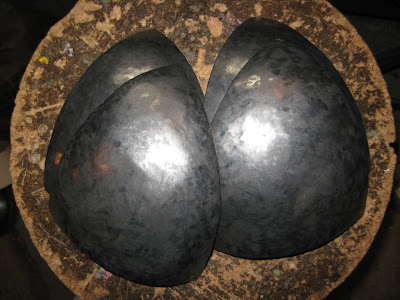
Then I started planishing. In this picture, you can see the difference between non-planished and planished (left and right, respectively):
I finished fitting the plates after I was done planishing, and tried them in the browband using clamps:

After fixing the fit, I punched some holes, and started riveting. All four plates are in, with one rivet each.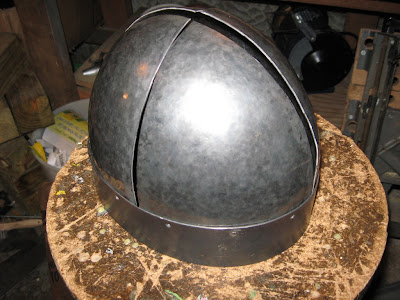
The total elapsed time so far is 3:25.
Next time, I shall finish riveting the plates, and begin riveting on the spangens (top bands).
Till then,

4 comments:
On your first helm post (second blog post), you described/mentioned making a template out of tape, then flattening it. "...beginning by making a pattern out of tape, which I flattened, transferred to paper..."
Could you elaborate on that a bit? Specifically, how you "flatten" a 3D pattern?
Certainly. I take masking tape and cover the body part (or, in this case, the head shape) until the part is covered in tape, in the shape it would be in the end. That is, I have what is essentially a finished quarter of a helm made out of tape. To make the actual pattern, I simply take that tape mock-up, and squish it flat. Then I trace around it, smooth the edges, and it's done.
That simple eh? I guess I am just make it to complicated! lol.
Thanks for writting
Post a Comment